Category Archives: ux

fortune tellers vs. mood boards

who: fortune tellers or psychics are commonly gypsies and even if they aren’t, they still dress the part. fortune tellers love all the bangles and scarfs. rings, medallions, headpieces, their all about that. there are, of course, the more humble fortune tellers, but for the most part fortune tellers like to give a show with candles and crystal balls and sparkly things. and they always have the tools of their trade with them; tarot cards, crystals, tea.

Untitled-2-01

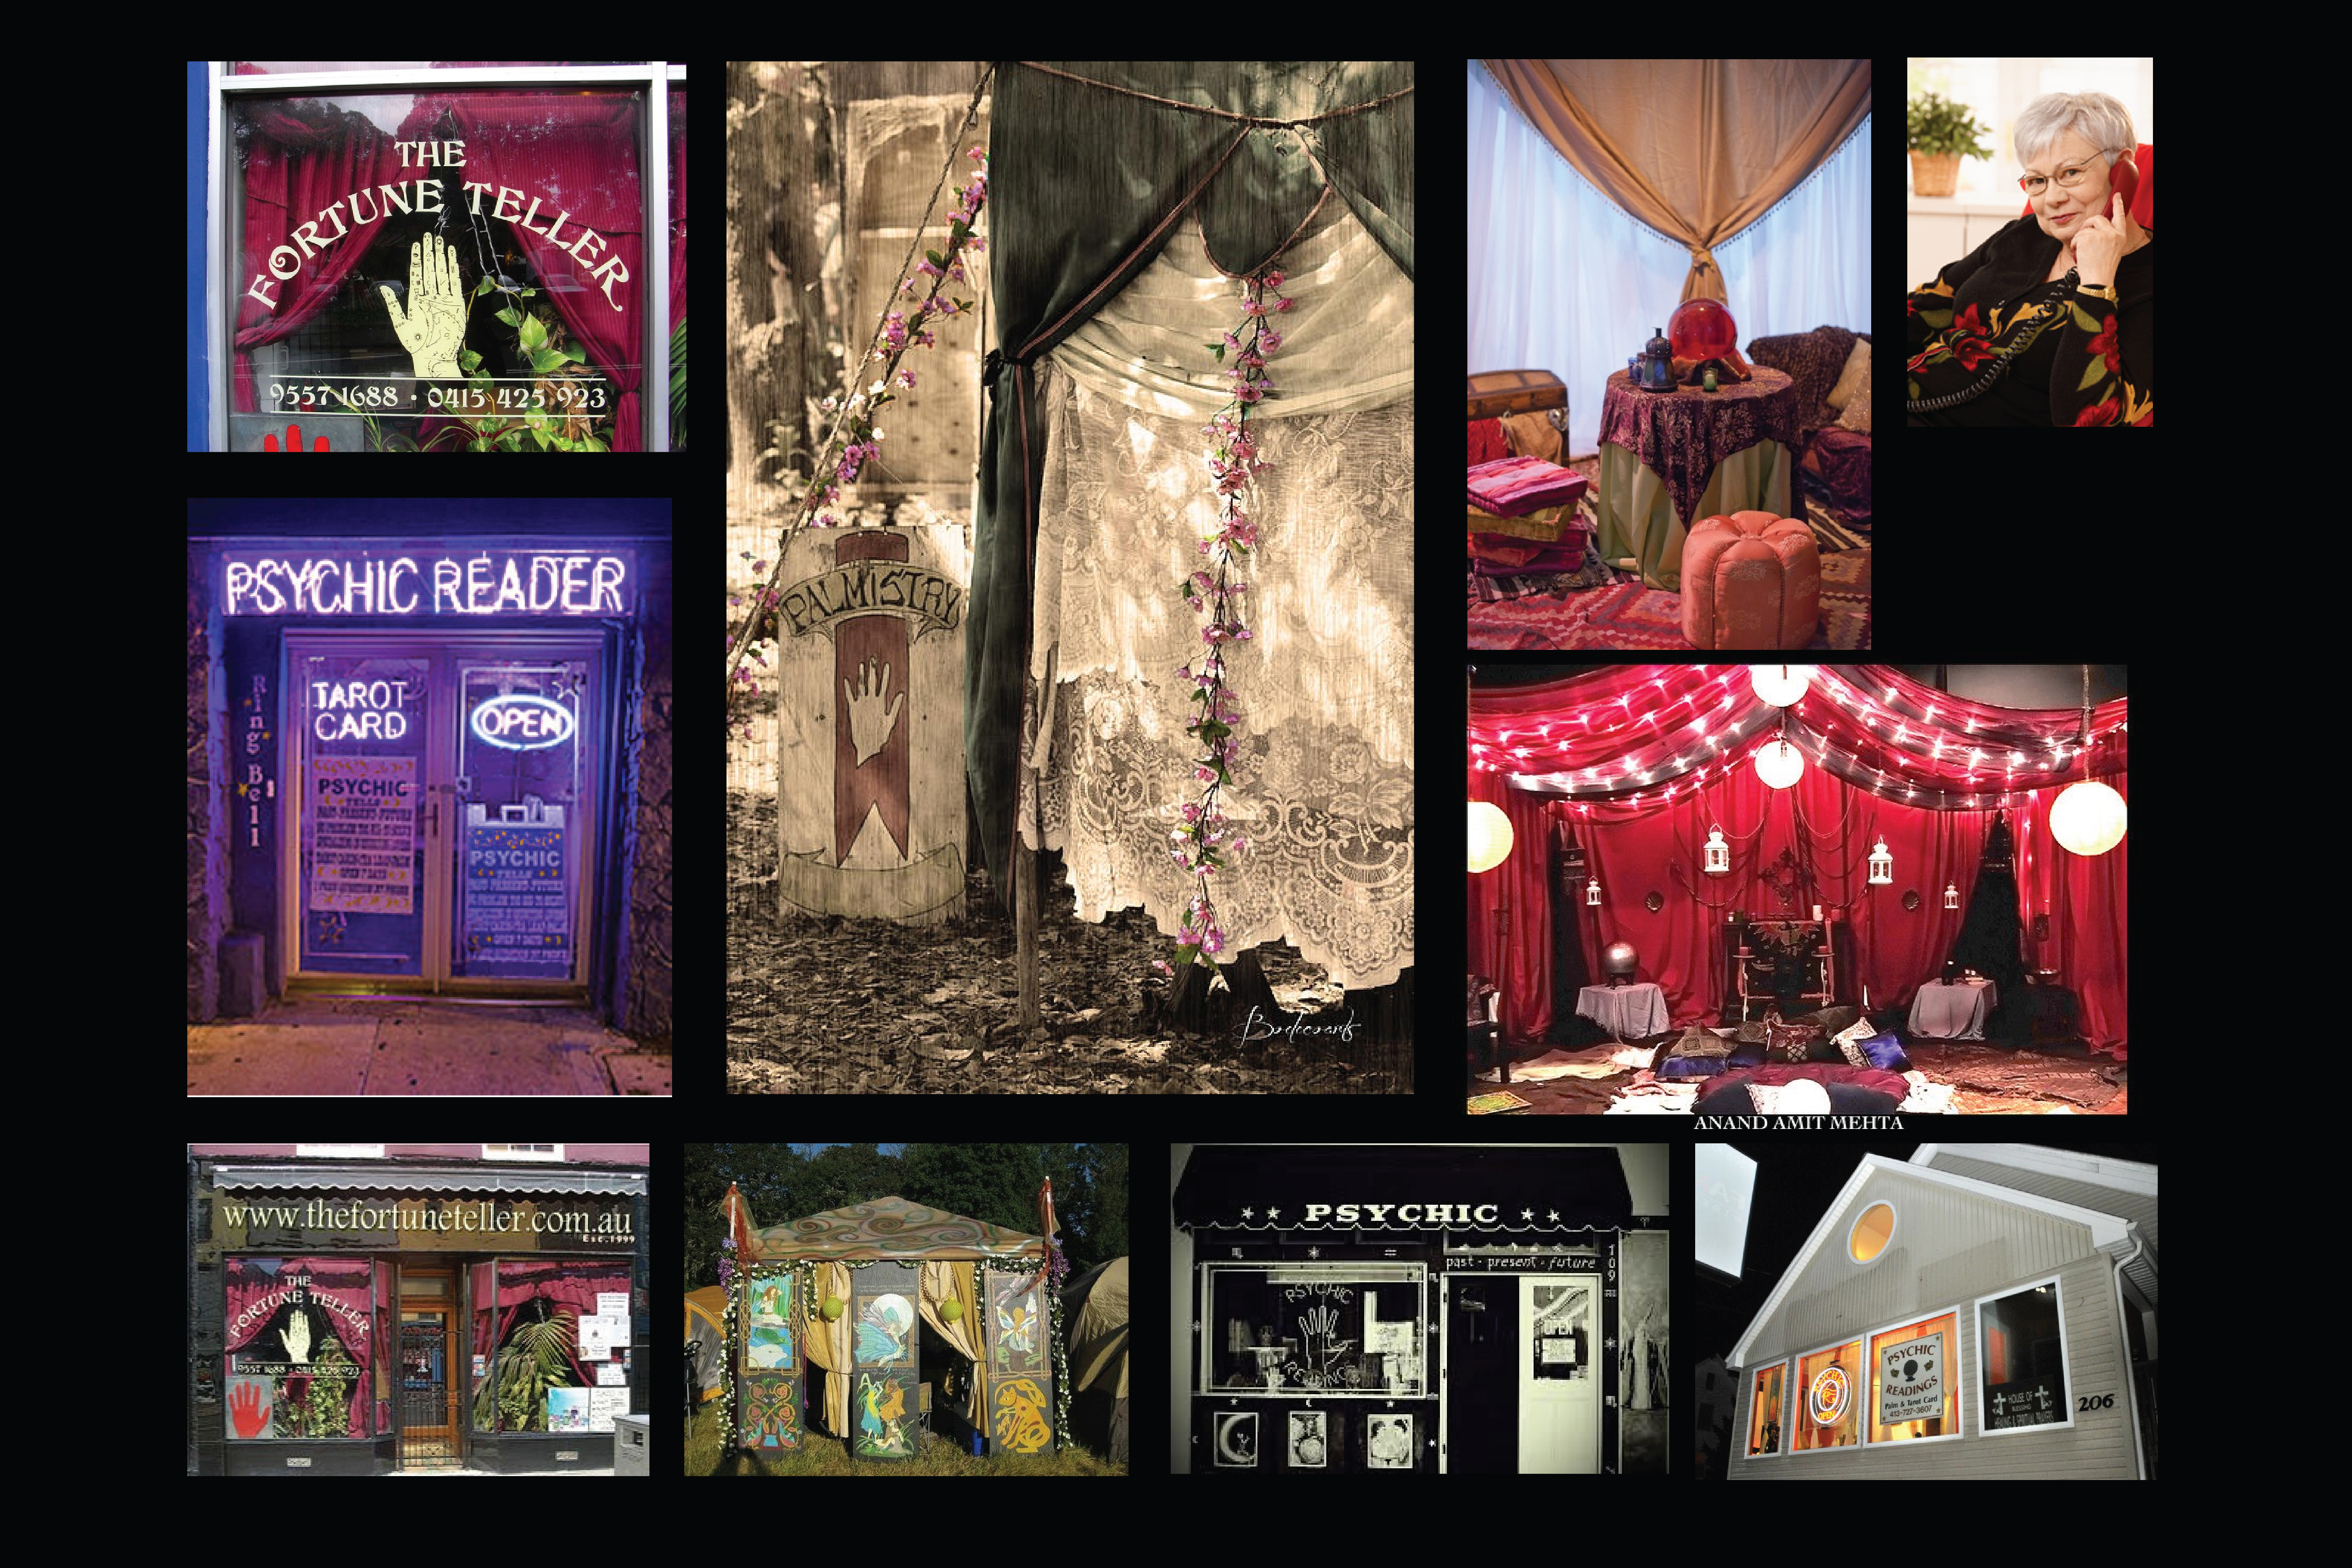
where: fortune tellers often have tents that travel with festivals or carnivals in the true traveling gypsy feel. the tents have a very intimate and magical feel, often small with dim lighting.  you can also find fortune tellers set up in small shops or out of someones home (often signified by bright neon signs). or if all else fails, you can just pick up your phone and give a fortune teller a ring.

Untitled-2-02

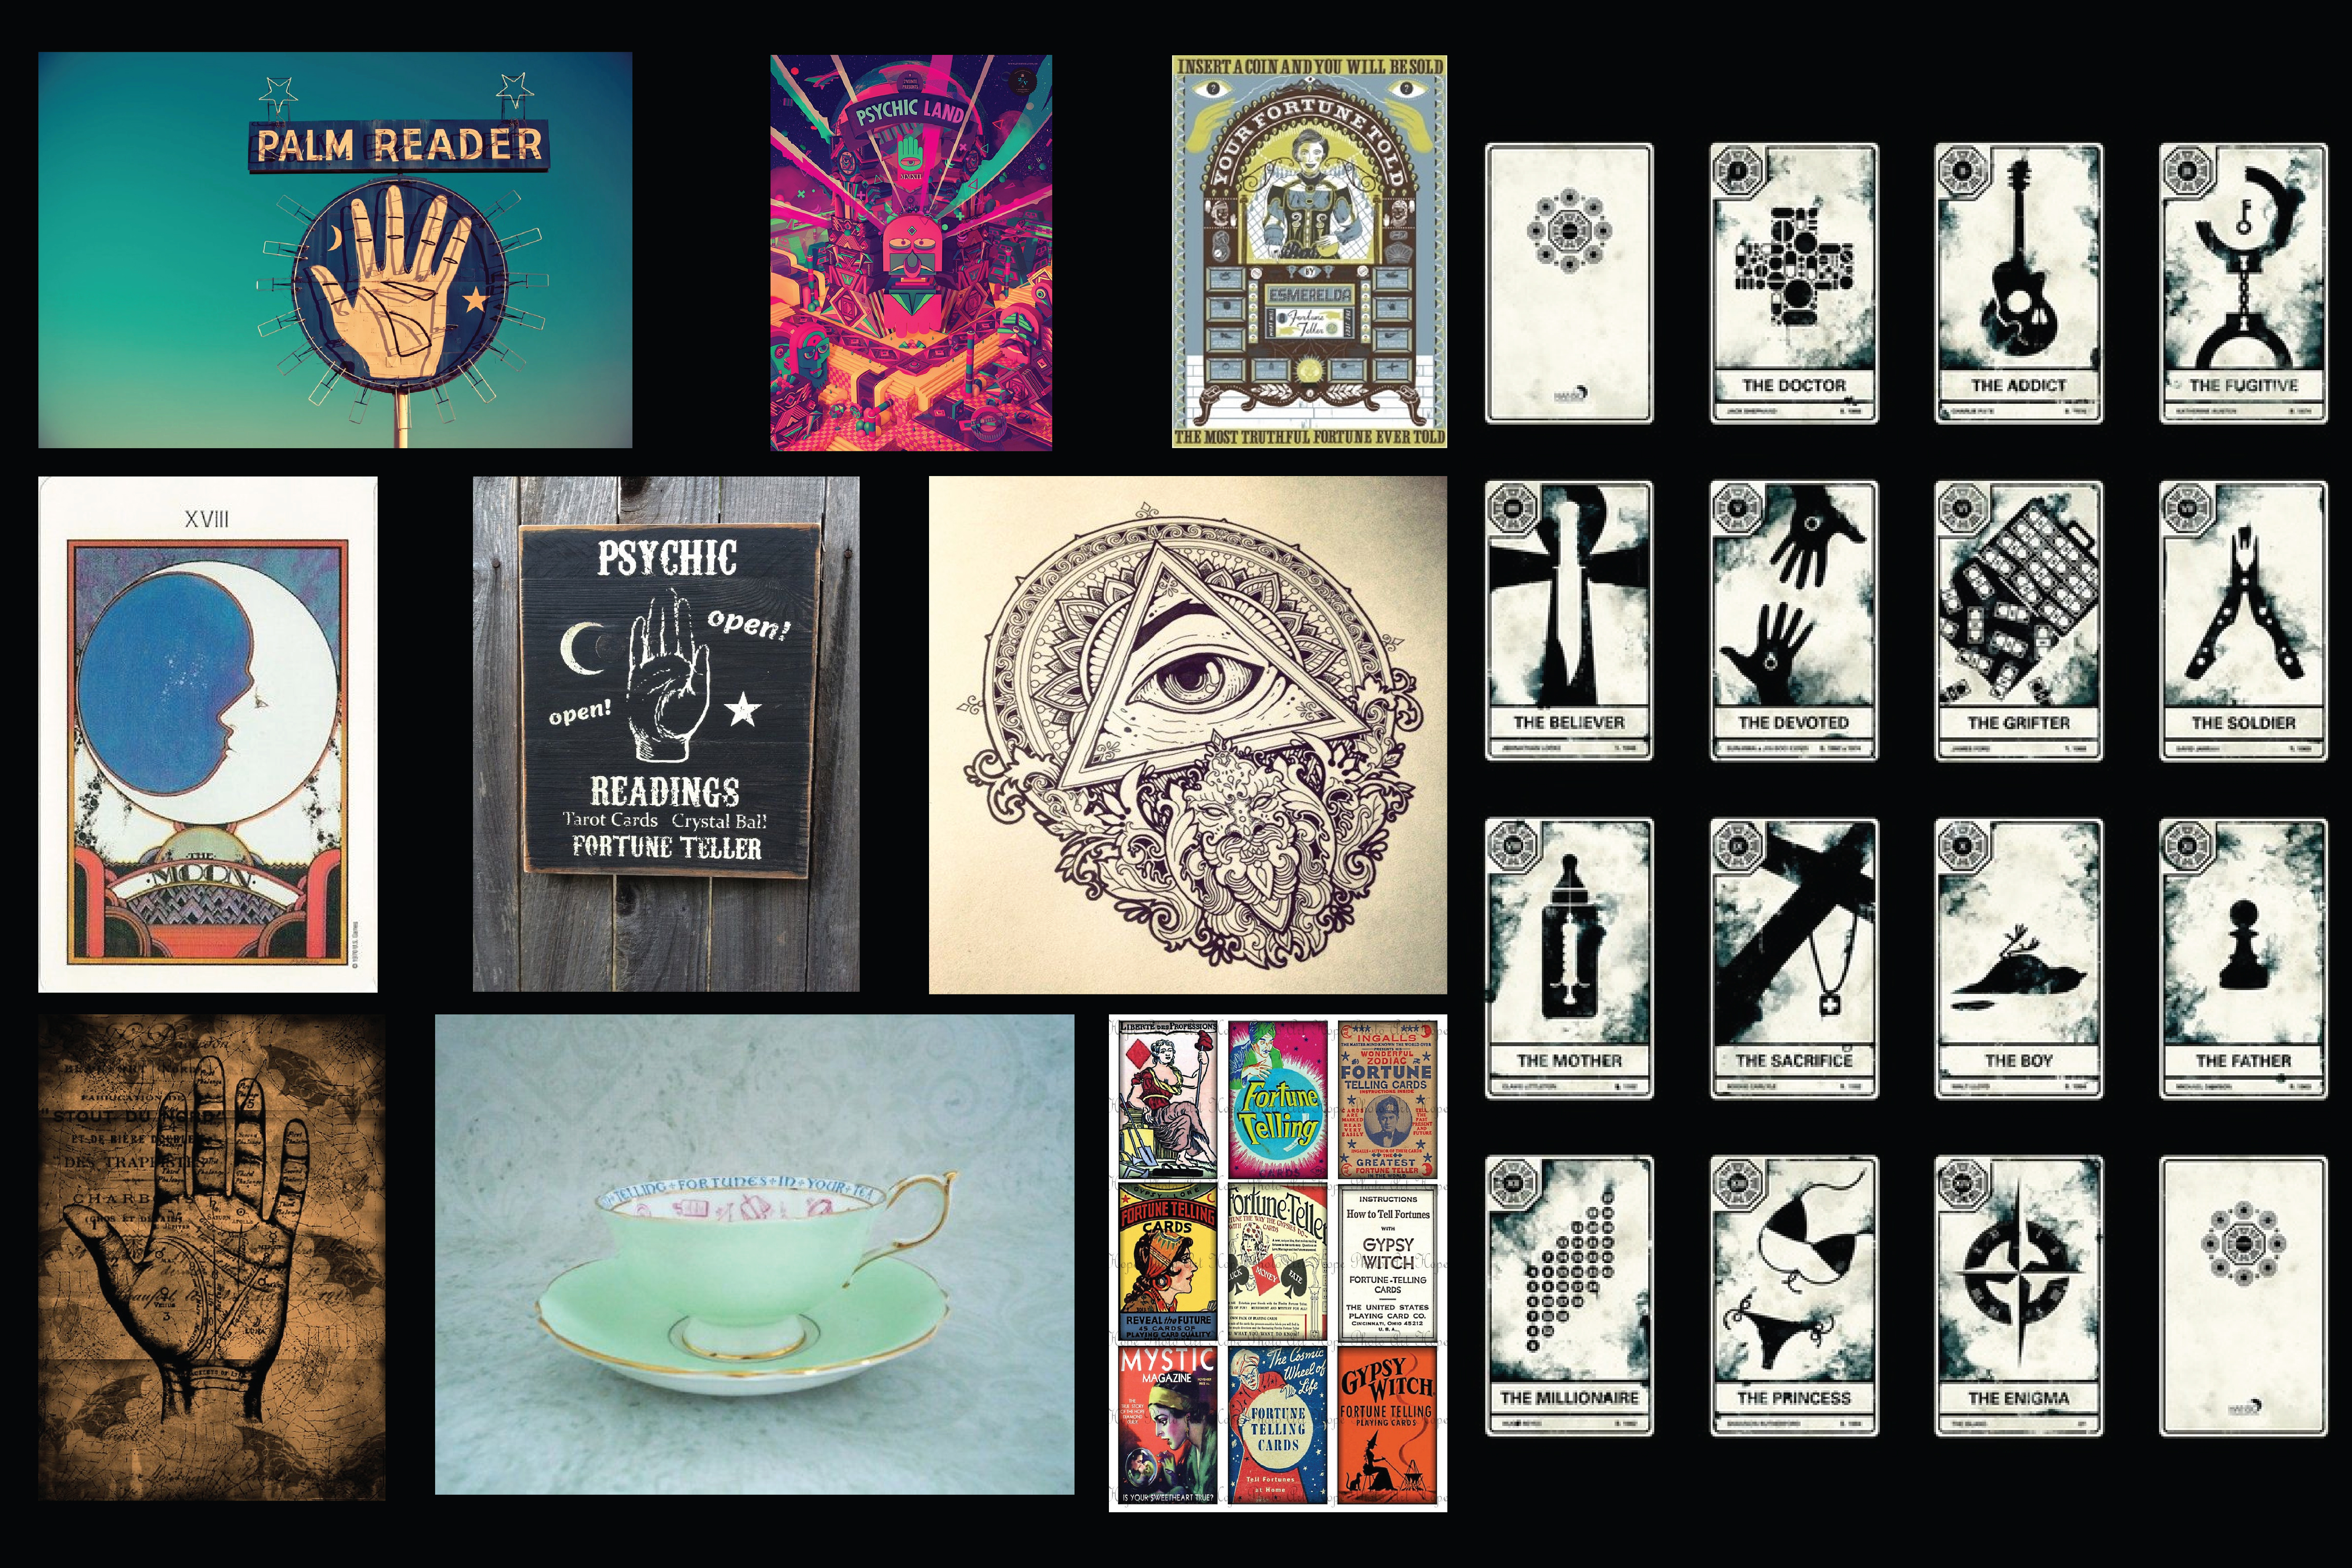
ideas: just some visuals relating to fortune tellers that  i found compelling for inspiration in this process.

vsR5D5kEptU

for the subculture that I will be researching and working with for this project, I have “fortune-tellers”.

fortune-telling, the forecasting of future events or the delineation of character by methods not ordinarily considered to have a rational basis. Evidence indicates that forms of fortune-telling were practiced in ancient China, Egypt, Chaldea, and Babylonia as long ago as 4000 bce. Prophetic dreams and oracular utterances played an important part in ancient religion and medicine. Today fortunetelling is more commonly thought of as a scam or hoax, but there are still enough believers out there to keep it alive. fortunetelling comes in many different forms including but not limited to tasseography (reading tea leaves or coffee grounds), omens, dreams, runes, goemancy, I Ching or Book of Changes, scrying, palmistry, astrology, cardomancy (cards).

How to: The Making of

just some proof of process.

Process Post

We did our first attempt at creating slingshots last week. Jodi found some branches on the ground. Since they were on the ground she just let them dry overnight, though for our video we will be drying them in front of a fire. For Jodi’s slingshot she got all of the bark off and sanded the branch down. On the one I made we tested how it would look if we left the bark on the branch. Painting them was difficult when the bark was on because the surface wasnt smooth so I couldnt get very clean lines. We tried using rubberbands of different widths and lengths and found that a medium width worked the best. We also learned from my dad that you need to find a branch with straight arms so that you can aim. Overall our first attempt was pretty successful. We still need to gather some supplies like the leather, which our first slingshots the leather was too soft and the knots on the rubberbands stretched out the holes and could of slipped through which isnt very effective in a fight. We will also need to get some sd cards for my camera before we can begin test shooting today. pictures to follow…

Here is our storyboard for our video:

Scan Scan2

how to: be cool and make a sling-shot

dbe92fd16168f6febe58785a142cfda7
that’s right! you too can  be a cool kid by following a few simple steps to make your very own sling-shot.
Materials:
Y-shaped tree branch, 30* fork
1/4″ latex surgical tubing/elastic bands
Leather strip
Dental floss
Paint
Polyurethane
confetti (optional)
Tools:
Saw
Knife
Scissors
Sandpaper
Paint Brush
Basic Steps:
1. Find a branch with a 30* or wider fork in it and cut it down
2. Cut off any extra branches and cut down to size leaving extra length at the top
3. Dry the wood by placing in front of a fire until dry or putting in the microwave
4. Remove all of the bark from the branch
5. Trim off the excess length from the top and make notches on each side of the Y
6. Use the sandpaper to smooth the wood
7. Paint as desired
8. After fully dried finish with a layer of polyurethane
9. Cut the leather to create the pouch
10. Cut the tubing to the desired length
11. Attach the tubing around the notches
12. Attach the tubing to the pouch
Sources: